
Authentication & Authorization are the important part of any Web Application where users are authenticated based on their credentials & their privileges are validated to Authorize to perform actions. There are different types of authentication like Form Authentication, Windows Authentication etc. Since the single page application become popular Bearer authentication with the help of JWT is also become popular.
In this article we will learn how to implement bearer token based authentication in ASP.NET Core Web API by leveraging the ASP.NET Core Identity framework which helps us to create login functionality with the help of built in framework. We won’t create any client applications but this content primarily focus on the idea of JWT how it useful in many scenarios.
Creating a Web API Project in Visual Studio
Let us begin by creating a new Project in Visual Studio. I am using Visual Studio 2022 Community version to create this project.
Open Visual Studio
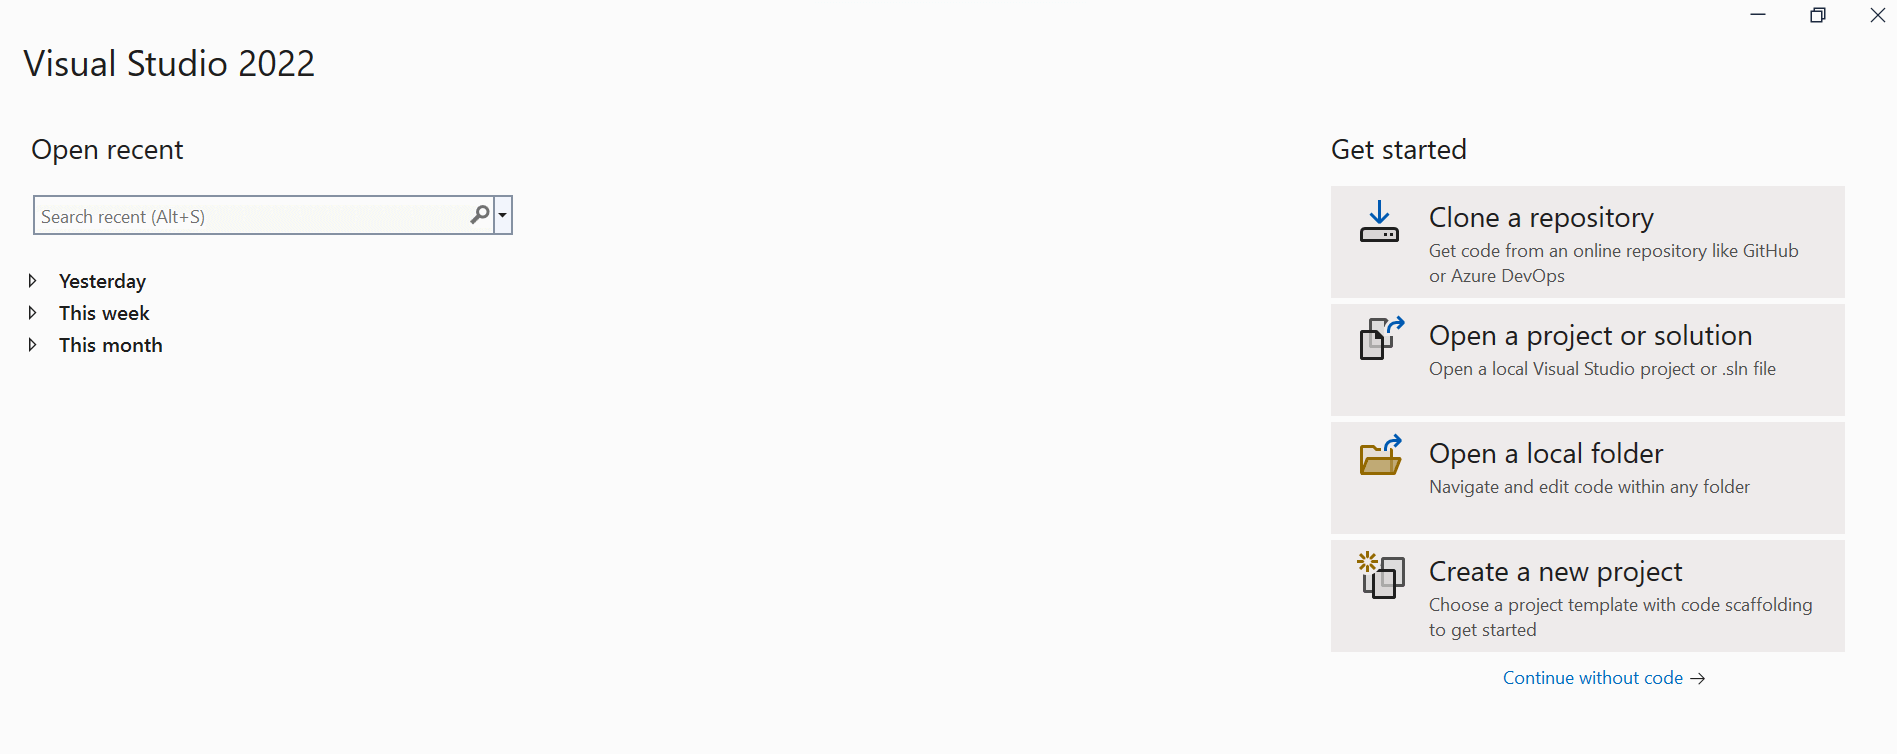
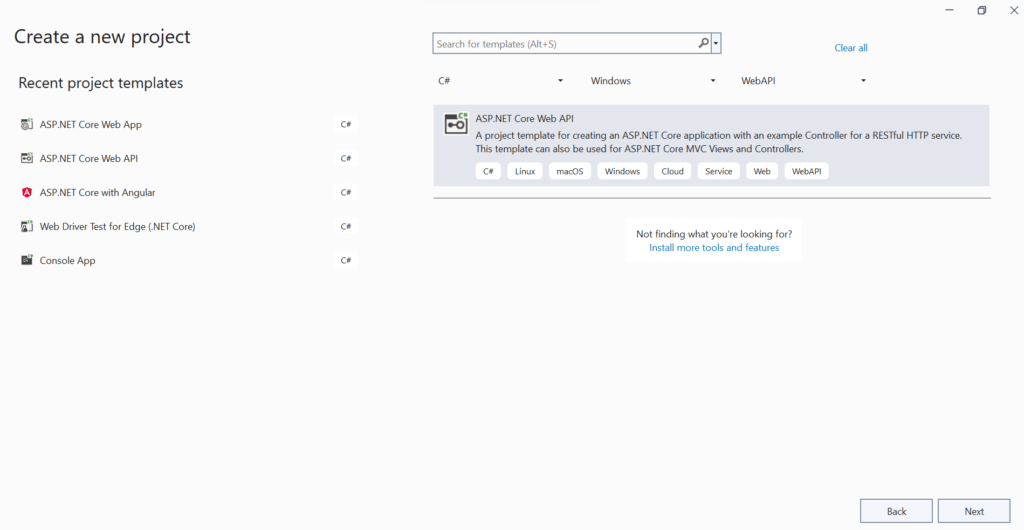
Chose ASP.NET Core Web API from the list of templates to start with. To make it easier to find the templates you can filter from the filters available such as language, platform & project type.
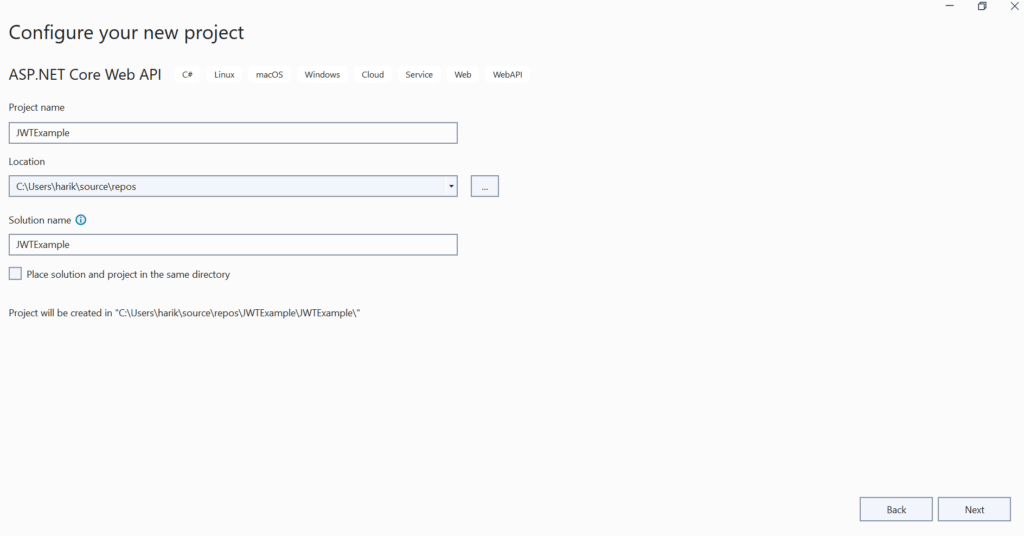
Give your name project a name, we will use “JWTExample”
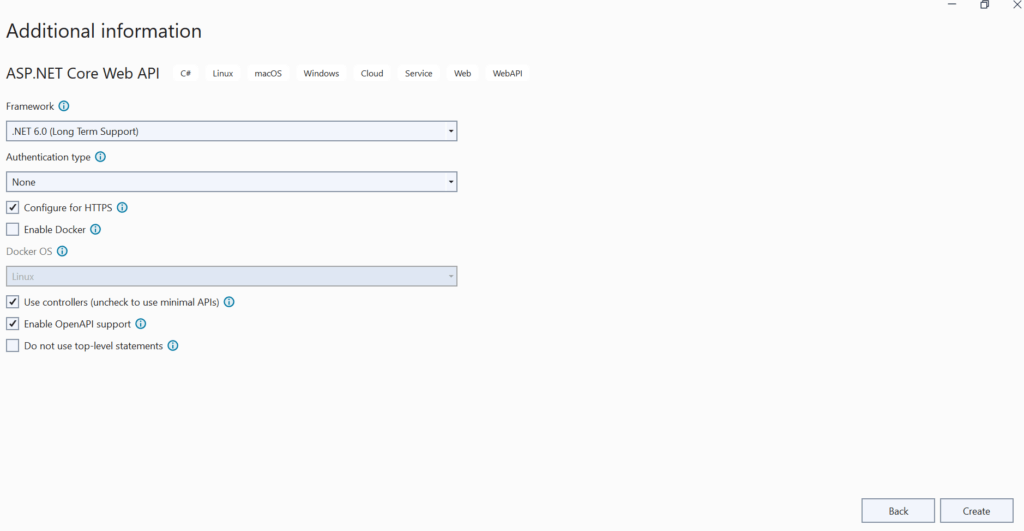
Chose Framework , at the time of writing this article .NET 6 was the LTS version. Set Authentication Type to None & leave the others settings to its default values.
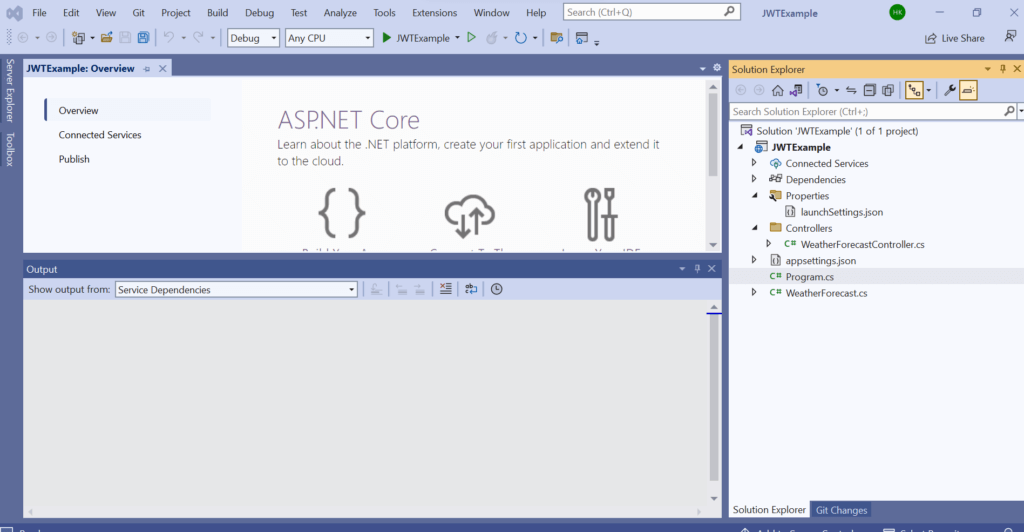
Once the Project is created it would look similar to below .
Adding Necessary Packages
Below are the NuGet Packages that we will be used in this example project. You can install these packages in your Project from Visual Studio NuGet Manager Menu.
- Microsoft.AspNetCore.Identity.EntityFrameworkCore
- Microsoft.EntityFrameworkCore.Tools
- Microsoft.EntityFrameworkCore.SqlServer
- Microsoft.AspNetCore.Authentication.JwtBearer
- AutoMapper.Extensions.Microsoft.DependencyInjection
Setting up ASP.NET Core Identity
In the following section we will see how to setup login setup using ASP.NET Identity models provided by Microsoft.
Creating Entities
Create a new folder in the project & name it “Entities”. Let us create our first entity now which is ApplicationUser this is a data model of the user who will be logging into the application. This will be having all the user related information like name, email, username etc. As we mentioned earlier we will be using ASP.NET Core Identity framework which has most of the features & functionality readily available. Let us create a new class inheriting from IdentityUser class.
using Microsoft.AspNetCore.Identity;

namespace JWTExample.Entities
{
    public class ApplicationUser : IdentityUser
    {

    }
}
We also want to have the users specific role so that certain action can be restricted based on the roles. Let’s create a ApplicationUserRole class.
using Microsoft.AspNetCore.Identity;

namespace JWTExample.Entities
{
    public class ApplicationUserRole : IdentityRole
    {
        public ApplicationUserRole() : base()
        {

        }

        public ApplicationUserRole(string roleName) : base(roleName)
        {

        }
    }
}
Creating DTOs
DTO or Data Transfer Object classes are created to pass data between the client & server. These classes are helpful when we want to send or receive specific set of information so that we do not have to worry about exposing information which are not useful. This also helps to make the payload look clean. In this example project we will creating DTOs for user registration & user login. Create a new folder in the project & name it “DTO”. Add two new DTO Classes RegisterDTO & LoginDTO for registering & login to the application. We would only need Username & Password properties in both the classes.
using System.ComponentModel.DataAnnotations;

namespace JWTExample.DTO
{
    public class RegisterDTO
    {
        [Required]
        public string UserName { get; set; }

        [Required]
        public string Password { get; set; }
    }
}
using System.ComponentModel.DataAnnotations;

namespace JWTExample.DTO
{
    public class LoginDTO
    {
        [Required]
        public string UserName { get; set; }

        [Required]
        public string Password { get; set; }
    }
}
Creating DB Context
DB Context is a class in Entity Framework it acts like bridge between Entity classes & Actual Database.As per microsoft documentation, A DbContext instance represents a session with the database and can be used to query and save instances of your entities. DbContext is a combination of the Unit Of Work and Repository patterns. In this example we will use IdentityDbContext which also inherits from DbContext. Let us begin creating a DB context class, but before that we will create a helper enum named Roles.
namespace JWTExample.Utilities
{
    public enum Roles
    {
        Admin,
        User,
        Moderator
    }
}
Create a new folder “Data” & create a new class under that folder,name it ApplicationDBContext.As you can see from the below code , we are inheriting from IdentityDbContext class & we are calling the base constructor with DbContextOptions. We also override OnModelCreating to customize it to add few custom roles such as User,Admin on model creating.This is also known as Data Seeding.This will ensure that database will have atleast these 2 roles when DB created for the first time.
using JWTExample.Entities;
using Microsoft.AspNetCore.Identity.EntityFrameworkCore;
using Microsoft.EntityFrameworkCore;


namespace JWTExample.Data
{
    public class ApplicationDBContext : IdentityDbContext<ApplicationUser>
    {
        public ApplicationDBContext(DbContextOptions options) : base(options)
        {

        }

        protected override void OnModelCreating(ModelBuilder builder)
        {
            base.OnModelCreating(builder);

            builder.Entity<ApplicationUserRole>().HasData(
                new ApplicationUserRole { Name = Utilities.Roles.User.ToString(), NormalizedName = Utilities.Roles.User.ToString() });
            builder.Entity<ApplicationUserRole>().HasData(
                new ApplicationUserRole { Name = Utilities.Roles.Admin.ToString(), NormalizedName = Utilities.Roles.Admin.ToString() });
        }
    }
}
Setting up Auto Mapper
Auto Mapper helps us to easily convert one type of object to another type of object. In most of the cases it does convert automatically based on some conventions. We can also specify how to convert particular field as well. It is helpful when we have a big project where we need to transform the object from one type to another one. To use the this functionality feature we need to create a profile & under that we can create different maps.
In the below code we are creating a mapper profile named AutoMapperProfiles which will be inherited from Profile class . In the constructor we will be creating new map, which will be used to map RegisterDTO type to ApplicationUser type.
Create a class named AutoMapperProfiles under Utilities folder.
using AutoMapper;
using JWTExample.DTO;
using JWTExample.Entities;

namespace JWTExample.Utilities
{
    public class AutoMapperProfiles : Profile
    {
        public AutoMapperProfiles()
        {
            CreateMap<RegisterDTO, ApplicationUser>()
                 .ForMember(dest => dest.UserName, opt => opt.MapFrom(src => src.UserName));
        }
    }
}
Creating a Token Service
Let us create JWT Token Service which can abstract all the token related operations such as creating a token , validating the token etc. We will begin with creating an Interface with a method to create the Token. We will name the interface as ITokenService
using JWTExample.Entities;

namespace JWTExample.Interfaces
{
    public interface ITokenService
    {
        Task<string> CreateToken(ApplicationUser user);
    }
}
Now that we created interface , we will add a class named TokenService under a new folder “Services” ,which will have the implementation to create a new jwt token.The secret key which will be used to create the token will be saved in appsettings.json file.
using JWTExample.Entities;
using JWTExample.Interfaces;
using Microsoft.AspNetCore.Identity;
using Microsoft.IdentityModel.Tokens;
using System.IdentityModel.Tokens.Jwt;
using System.Security.Claims;
using System.Text;

namespace JWTExample.Services
{
    public class TokenService : ITokenService
    {
        private readonly UserManager<ApplicationUser> _userManager;
        private readonly SymmetricSecurityKey _key;

        public TokenService(UserManager<ApplicationUser> userManager, IConfiguration config)
        {
            this._userManager = userManager;
            this._key = new SymmetricSecurityKey(Encoding.UTF8.GetBytes(config["TokenKey"]));
        }

        public async Task<string> CreateToken(ApplicationUser user)
        {
            var claims = new List<Claim>() {
                new Claim(System.IdentityModel.Tokens.Jwt.JwtRegisteredClaimNames.NameId,user.Id.ToString()),
                new Claim(System.IdentityModel.Tokens.Jwt.JwtRegisteredClaimNames.UniqueName,user.UserName.ToString())
            };

            var roles = await _userManager.GetRolesAsync(user);

            claims.AddRange(roles.Select(role => new Claim(ClaimTypes.Role, role)));

            var creds = new SigningCredentials(_key, SecurityAlgorithms.HmacSha512);

            var tokenDescriptor = new SecurityTokenDescriptor
            {
                Subject = new ClaimsIdentity(claims),
                Expires = DateTime.Now.AddMinutes(30),
                SigningCredentials = creds
            };

            var tokenHandler = new JwtSecurityTokenHandler();

            var token = tokenHandler.CreateToken(tokenDescriptor);

            return tokenHandler.WriteToken(token);
        }
    }

}
Configuring the Services
We will create an extension method to organize identity related services at one place. Create a folder named “Extensions” & Add a class named IdentityServerExtension
using JWTExample.Data;
using JWTExample.Entities;
using Microsoft.AspNetCore.Authentication.JwtBearer;
using Microsoft.AspNetCore.Identity;
using Microsoft.IdentityModel.Tokens;
using System.Text;

namespace JWTExample.Extensions
{
    public static class IdentityServerExtension
    {
        public static IServiceCollection AddIdentityServices(this IServiceCollection services, IConfiguration config)
        {

            services.AddIdentity<ApplicationUser, ApplicationUserRole>()
                .AddEntityFrameworkStores<ApplicationDBContext>()
                .AddDefaultTokenProviders();

            services.AddAuthentication(JwtBearerDefaults.AuthenticationScheme)
                .AddJwtBearer(options =>
                options.TokenValidationParameters = new Microsoft.IdentityModel.Tokens.TokenValidationParameters
                {
                    ValidateIssuerSigningKey = true,
                    IssuerSigningKey = new SymmetricSecurityKey(Encoding.UTF8.GetBytes(config["TokenKey"])),
                    ValidateIssuer = false,
                    ValidateAudience = false
                });

            return services;
        }
    }
}
We need to register all the services in Program.cs file . Once updated the file would look like this.
using JWTExample.Data;
using JWTExample.Extensions;
using JWTExample.Interfaces;
using JWTExample.Services;
using Microsoft.EntityFrameworkCore;
using SampleAPI.Utilities;

var builder = WebApplication.CreateBuilder(args);
var config = builder.Configuration;

// Add services to the container.

builder.Services.AddControllers();
// Learn more about configuring Swagger/OpenAPI at https://aka.ms/aspnetcore/swashbuckle
builder.Services.AddEndpointsApiExplorer();
builder.Services.AddSwaggerGen();

builder.Services.AddDbContext<ApplicationDBContext>(options => options.UseSqlServer(config.GetConnectionString("ApplicationDBContext")));
builder.Services.AddIdentityServices(config);
builder.Services.AddAutoMapper(typeof(AutoMapperProfiles).Assembly);
builder.Services.AddScoped<ITokenService, TokenService>();

var app = builder.Build();

// Configure the HTTP request pipeline.
if (app.Environment.IsDevelopment())
{
    app.UseSwagger();
    app.UseSwaggerUI();
}

app.UseHttpsRedirection();

app.UseAuthorization();

app.MapControllers();

app.Run();
Add Account Controller
using Microsoft.AspNetCore.Mvc;

namespace JWTExample.Controllers
{
    [ApiController]
    [Route("api/[controller]")]
    public class BaseApiController : ControllerBase
    {
    }
}
Let us create Register & Login endpoints. All the dependencies are injected through constructor.
using AutoMapper;
using JWTExample.DTO;
using JWTExample.Entities;
using JWTExample.Interfaces;
using Microsoft.AspNetCore.Identity;
using Microsoft.AspNetCore.Mvc;
using Microsoft.EntityFrameworkCore;

namespace JWTExample.Controllers
{
    [ApiController]
    public class AccountController : BaseApiController
    {
        private readonly UserManager<ApplicationUser> _userManager;
        private readonly RoleManager<ApplicationUserRole> _roleManager;
        private readonly IMapper _mapper;
        private readonly ITokenService _tokenService;

        public AccountController(
            UserManager<ApplicationUser> userManager,
            RoleManager<ApplicationUserRole> roleManager,
            ITokenService tokenService,
            IMapper mapper)
        {

            _mapper = mapper;
            _userManager = userManager;
            _roleManager = roleManager;
            _tokenService = tokenService;


        }


        [HttpPost("register")]
        public async Task<ActionResult> Register(RegisterDTO registerDto)
        {
            if (await IsUserExists(registerDto.UserName)) return BadRequest("UserName is already taken");

            var user = _mapper.Map<ApplicationUser>(registerDto);

            user.UserName = registerDto.UserName.ToLower();

            var result = await _userManager.CreateAsync(user, registerDto.Password);

            if (!result.Succeeded) return BadRequest(result.Errors);

            var roleResult = await _userManager.AddToRoleAsync(user, "User");

            if (!roleResult.Succeeded) return BadRequest(roleResult.Errors);

            return Ok();
        }

        [HttpPost("login")]
        public async Task<ActionResult> Login(LoginDTO loginDTO)
        {
            var user = await _userManager.Users.SingleOrDefaultAsync(user => user.UserName == loginDTO.UserName);

            if (user == null) return Unauthorized("Not Found");

            var result = await _userManager.CheckPasswordAsync(user, loginDTO.Password);

            if (!result) return Unauthorized();

            return Ok(new { token = await _tokenService.CreateToken(user) });
        }

        private async Task<bool> IsUserExists(string username)
        {
            return await _userManager.Users.AnyAsync(x => x.UserName == username.ToLower());
        }


    }
}
Database Migration
Now that we completed all the code changes .We will create our first migration script which will create all the necessary tables provided by the ASP.NET Identity framework. We are yet to add a connections string in appsettings file. Please ensure that appsettings file is having the connections string & secret key used with JWT.Below is the appsettings.json file
{
  "Logging": {
    "LogLevel": {
      "Default": "Information",
      "Microsoft.AspNetCore": "Warning"
    }
  },
  "ConnectionStrings": {
    "ApplicationDBContext": "Data Source=HARI;Initial Catalog=JWTExample;Integrated Security=SSPI;Encrypt=false;TrustServerCertificate=true"
  },
  "TokenKey": "thisisA1234secret@@@@"
}
Let us execute the migration command in the Package Manager console. A success message will appear once the migration is completed successfully.
Add-Migration "FirstMigrations"
Update-Database
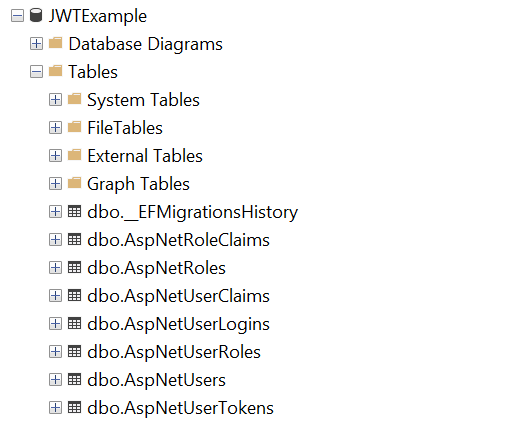
Below is the screen shots of the Database with tables created
Verify the API Endpoint with Swagger
We have completed all the changes. Let us verify that we are able to generate the register as a new user & able to login. Let us use Swagger which is already configured to use in this project. Run the application & we will see below
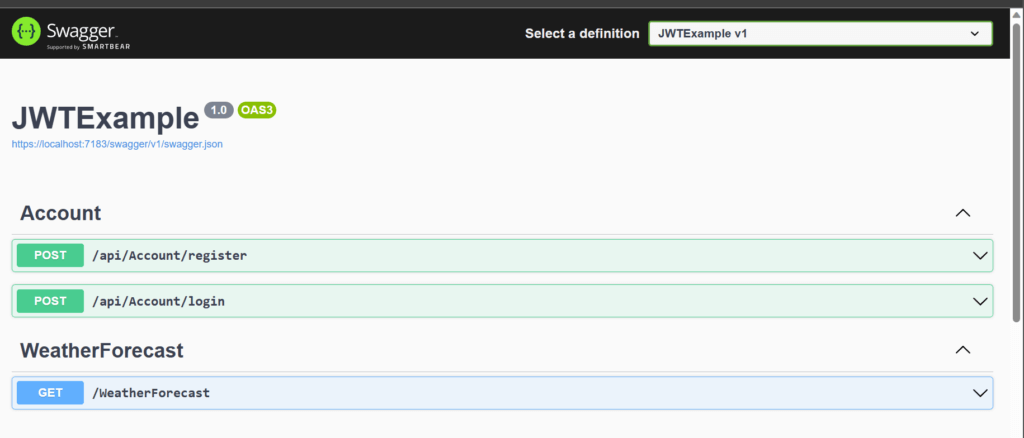
When the App is run successfully, you will the list of end points in the application & are available to test. This will also provide help us with the structure of the payload.
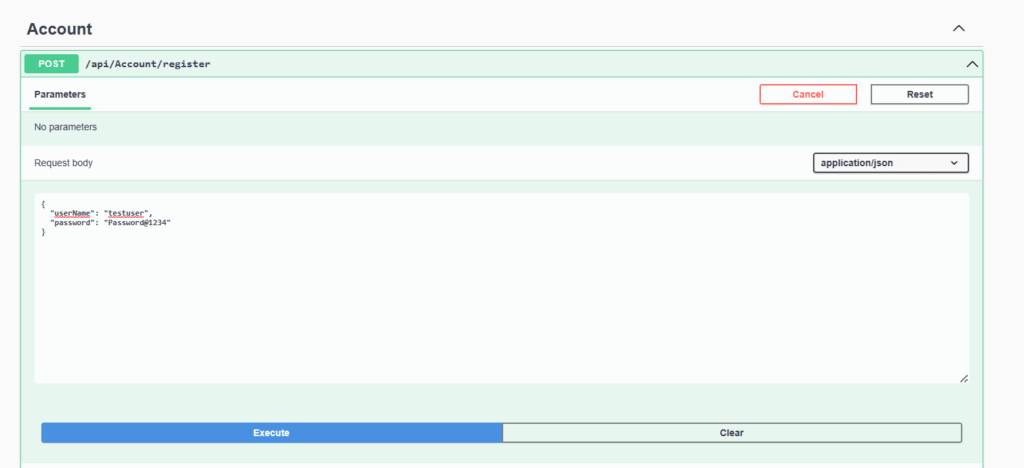
Register a new user . here we will use username as “testuser” & password as “Password@1234”.
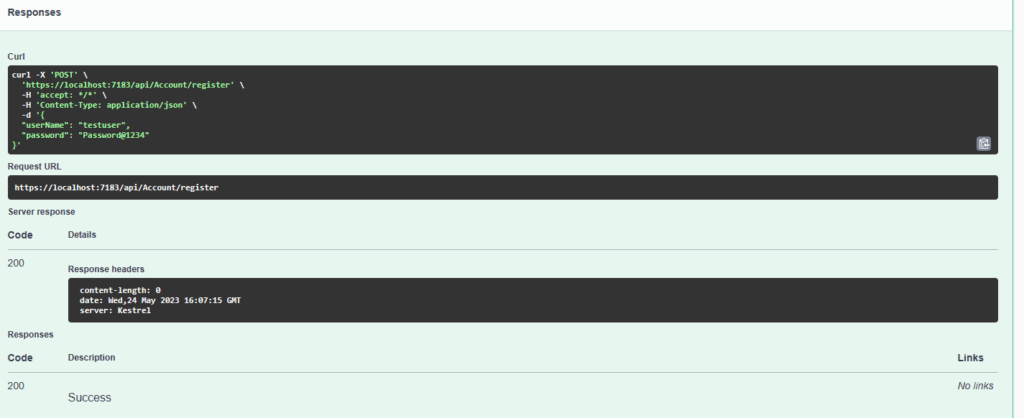
Once click execute we will get a success message indicating user has been created successfully.
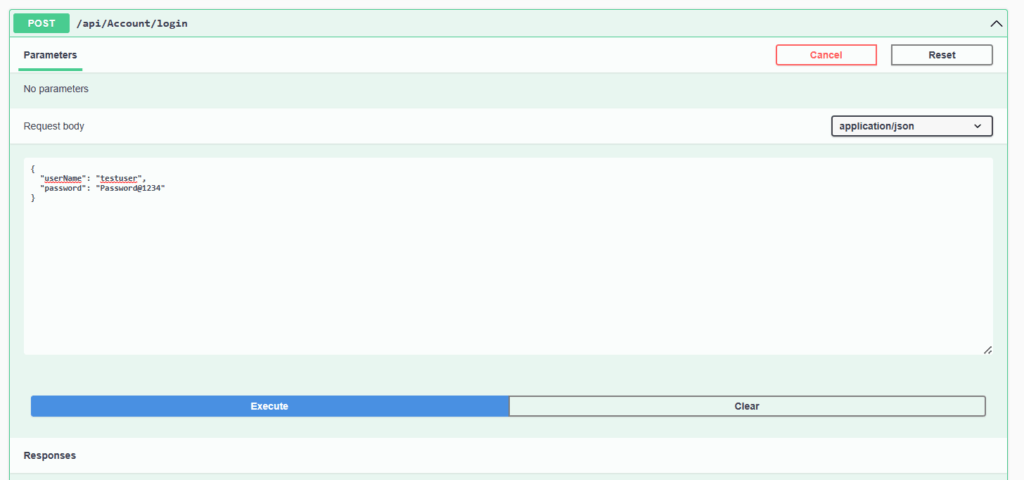
After user is created successfully let us try to login using login end point with the same set of credentials used above.
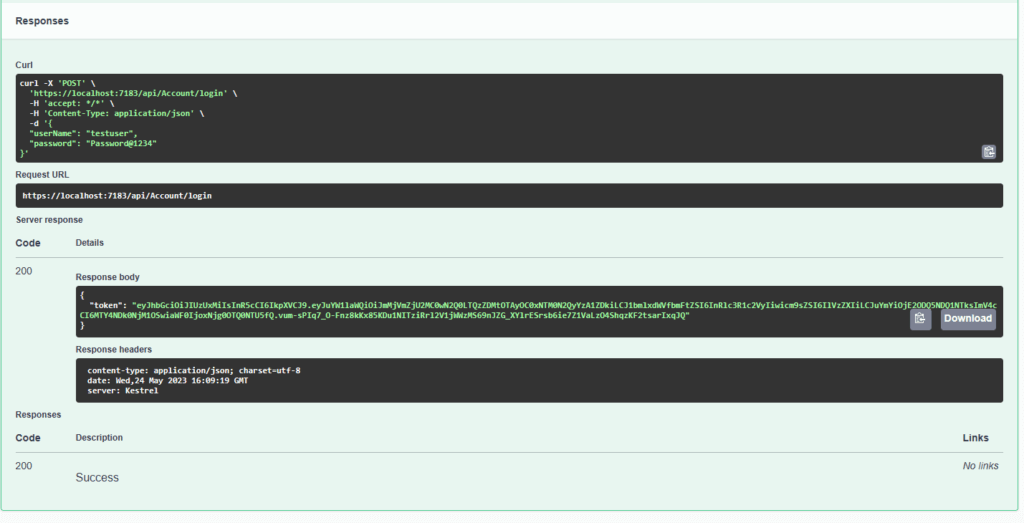
Once successfully authenticated we will get a JWT token back. Which can be passed in the header when we try to access any resources which needs user to be authenticated with valid JWT token.